Yealink assisted provisioning guide in Zoom App
Please follow the sections below in order to provision a Yealink phone that supports zero touch provisioning if you are having issues with it or your phone does not support it.
Note: The quick start guide for provisioning should be read before proceeding with this article.
The following topics are covered in this article:
- How to obtain the phone’s IP address
- T4 series without touchscreen
- T4 series with a touchscreen
- T5 series with a touchscreen
- How to access the phone’s web interface
- How to configure the provisioning server
Contents
Prerequisites for using the Yealink assisted provisioning guide
- Supported Yealink device
- Yealink device added to Zoom web portal
- Device reset to factory default and latest supported firmware installed
How to obtain the phone’s IP address
T4 series without touchscreen
- click on the Menu button.
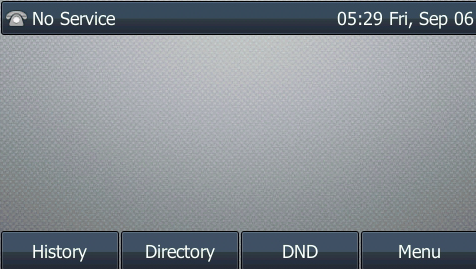
- In order to select Status, you will need to use the directional pad on your phone.
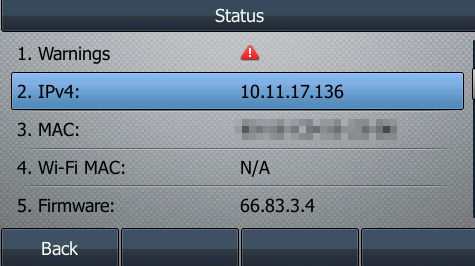
- Make note of the IPv4 address.
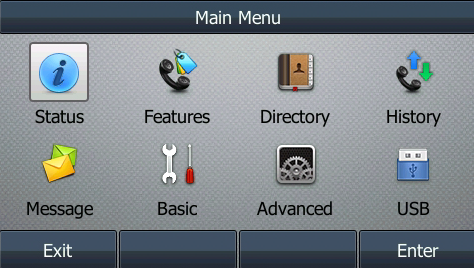
T4 series with a touchscreen
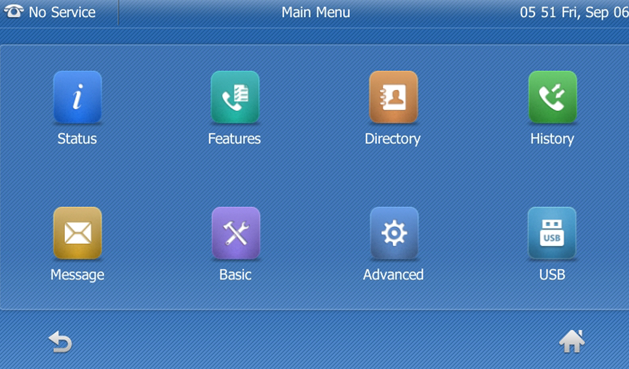
- Tap Menu on the home screen.
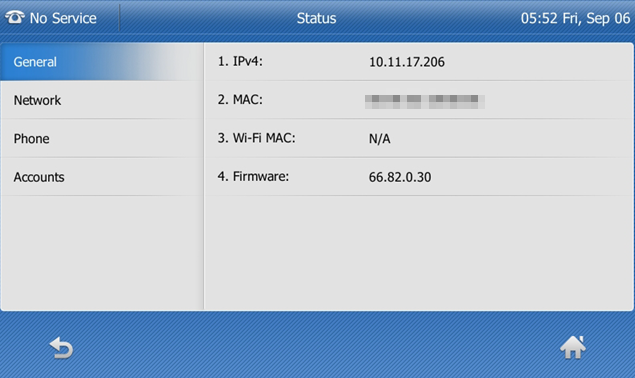
- T4 series with a touchscreen: Tap Status.
- Make note of the IPv4 address.
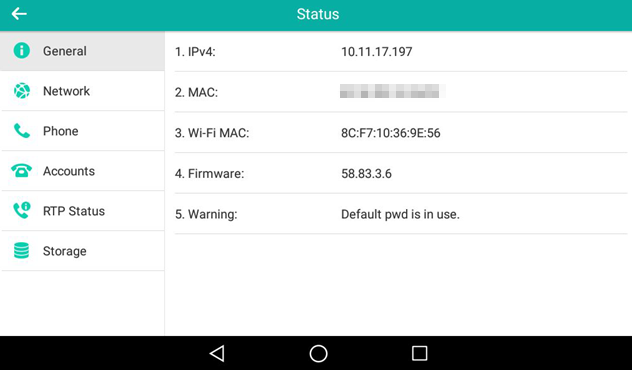
T5 series with a touchscreen
- Swipe left from the home screen.
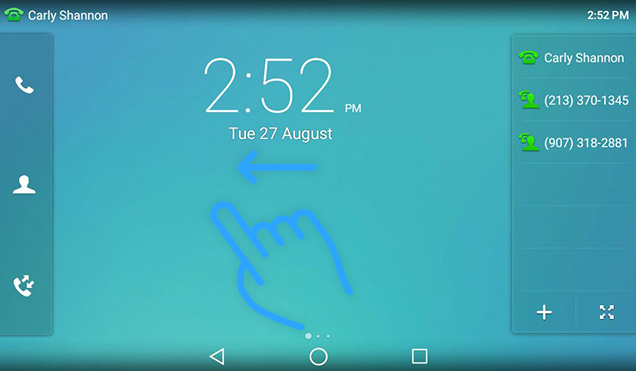
- Tap Settings.

- Tap General.
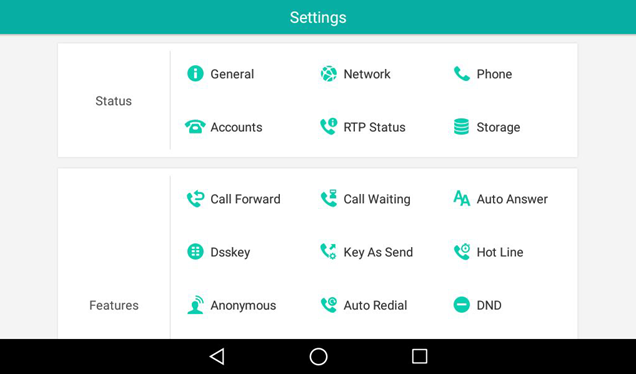
- Make note of the IPv4 address.
How to access the phone’s web interface
- It is a good idea to use a computer that is connected to the same WiFi network as the phone to open a web browser.
- The IP address of the phone should be entered here.
- The first thing you need to do is log into the phone’s web interface as an administrator.
Note: Admin is the default user name and password for an administrator, and these are admin / admin by default. Your username and password can be found by contacting the vendor of your phone if you don’t know them. Using the Zoom web portal, if you have set an admin password globally, you will be able to view the password if it has been set.
How to configure the provisioning server
Note: Depending on the model of Yealink device, older devices may or may not have the green header bar on the web interface.
- Navigate to the Settings > Auto Provision.
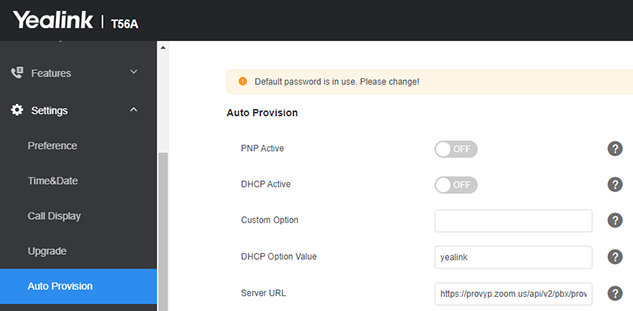
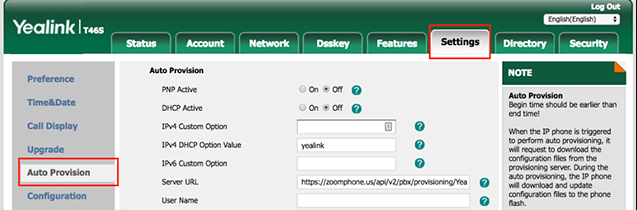
- In the Server URL field, you should enter the URL for the assisted provisioning service.
- The fields User Name and Password should be left blank, so any data in these fields should be deleted.
- The next step is to click the Auto Provision Now button in order for the configuration to be applied to your phone after you have clicked Confirm to save it. Provisioning will take several reboots for the phone to complete the process.
Note: You need to ensure that when you attempt to complete provisioning the device, that there are no other provisioning servers communicating with it.