
(Fixed) Video Camera or webcam does not work on Lenovo devices for zoom meeting: best step by step solution in2024
Experiencing webcam issues during a Zoom meeting on a Lenovo laptop can be frustrating. If you’re faced with an error screen instead of your video feed, here are some straightforward troubleshooting steps to help resolve the issue:
Troubleshooting Video Issues on Lenovo Devices
Experiencing video problems on Lenovo devices can be resolved through a series of troubleshooting steps, which vary depending on your Windows operating system. Here’s a guide to help you through this process:
Contents
- 0.1 For Windows 7 Users
- 0.2 For Windows 8 Users
- 0.3 For Windows 10 Users
- 0.4 Additional Note
- 0.5 Further Troubleshooting
- 1 Lenovo Laptop – Integrated Camera Not Working When Using Teams or Zoom
- 1.1 Adjusting Privacy Settings and Keyboard Functions
- 1.2 Step 1: Manual Camera Driver Update
- 1.3 Step 2: Reinstall Camera Drivers
- 1.4 Step 3: Reverting Windows to a Previous Version
- 1.5 Step 3.2: System Restore Point
- 1.6 Step 4: Preventing Automatic Driver Updates
- 1.7 Antivirus Software Check
- 1.8 Factory Reset – OKR
For Windows 7 Users
- Access Lenovo- Web Conferencing:
- Open the Windows Start Menu and search for ‘Lenovo – Web Conferencing’.
- Camera Test:
- Start the camera within the Lenovo – Web Conferencing application, then close the application.
For Windows 8 Users
- Open Windows Start Menu:
- Begin by accessing the Windows start menu.
- Finding Lenovo Settings:
- Search for ‘lenovo’ and select ‘Lenovo Settings’. If you don’t have this application, download it from the Microsoft Store.
- Adjust Camera Settings:
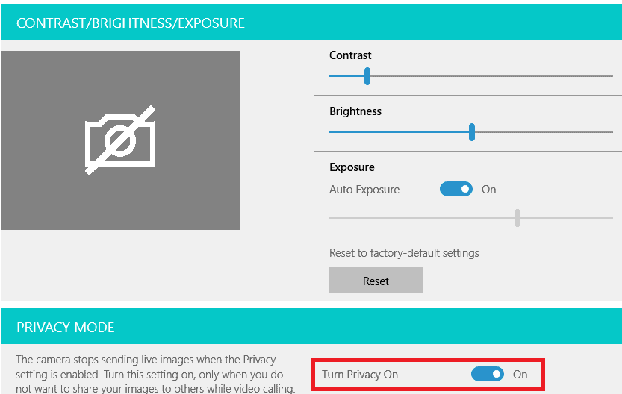
- Click the ‘CAMERA’ tab at the top.
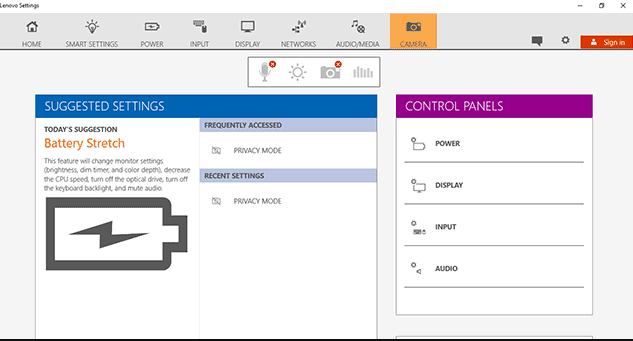
- Scroll to the bottom of settings and turn the Privacy Mode to ‘Off’.
- Click the ‘CAMERA’ tab at the top.
For Windows 10 Users
- Accessing Lenovo Vantage:
- Click on the Windows start menu and search for ‘lenovo’, then open ‘Lenovo Vantage’. If Lenovo Vantage is not installed, get it from the Microsoft Store.
- Modifying Camera Settings:
- Go to ‘Hardware Settings’ and then select ‘Audio/Visual’.
- Scroll down and switch the ‘Camera Privacy Mode’ toggle to ‘Off’.

Additional Note
- Physical Camera Switch:
- If Camera Privacy Mode repeatedly turns on, check if your Lenovo laptop has a physical camera switch. Ensure this switch is turned on.
Further Troubleshooting
- Persistent Issues:
- If problems with your camera continue, it’s advisable to explore additional troubleshooting steps or consult Lenovo’s support resources.
By following these specific steps for your Windows version, you should be able to resolve most common video issues on your Lenovo device.
Lenovo Laptop – Integrated Camera Not Working When Using Teams or Zoom
Related article
Video/camera is not working
Can I use Zoom in my web browser?
Show participants in gallery view
Orient the camera to the correct position from the video settings of the Zoom app
How to enable co-hosts and make participants co-host